Overview
Deals are the core means to track sales opportunities in Relate. Every other concepts such as Organization and People are connected to deals and they represent who you’re engaging with in a deal. As such, each deal represents a sales opportunity. So you can have multiple deals within an organization. Deals consist of two sections: (1) Prospect, and (2) Close.Concepts
Prospect
A prospect is a deal that are “work-in-progress” before handoff to closing. Prospects in Relate are handled through the Prospect feature, accompanied by the Prospect Status.Close (Pipeline)
Once a prospect is marked asQualified, the deal gets sent to a pipeline.
This is when the Pipeline Stage begins.
In the pipeline, drag and drop each deal card to update its stage accordingly.
Basics
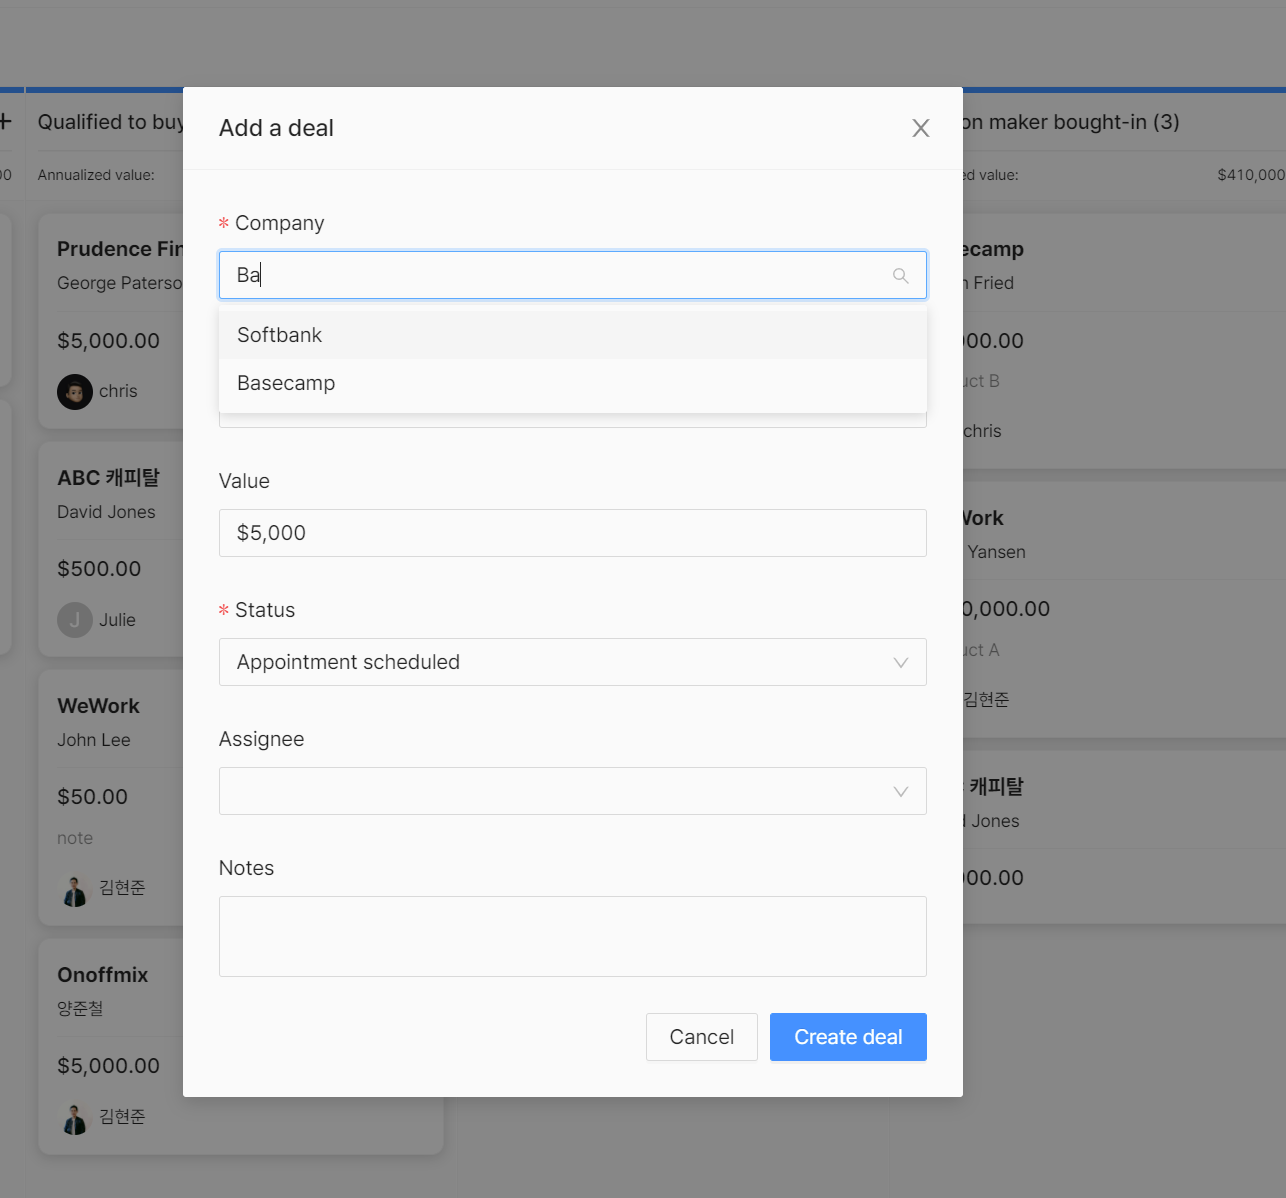
Add a new Deal
You can add a new Deal by clicking+ Deal in any of the Prospect or Close menus (e.g., Potential, Working, Nurturing, and Pipelines).
Add information to a Deal
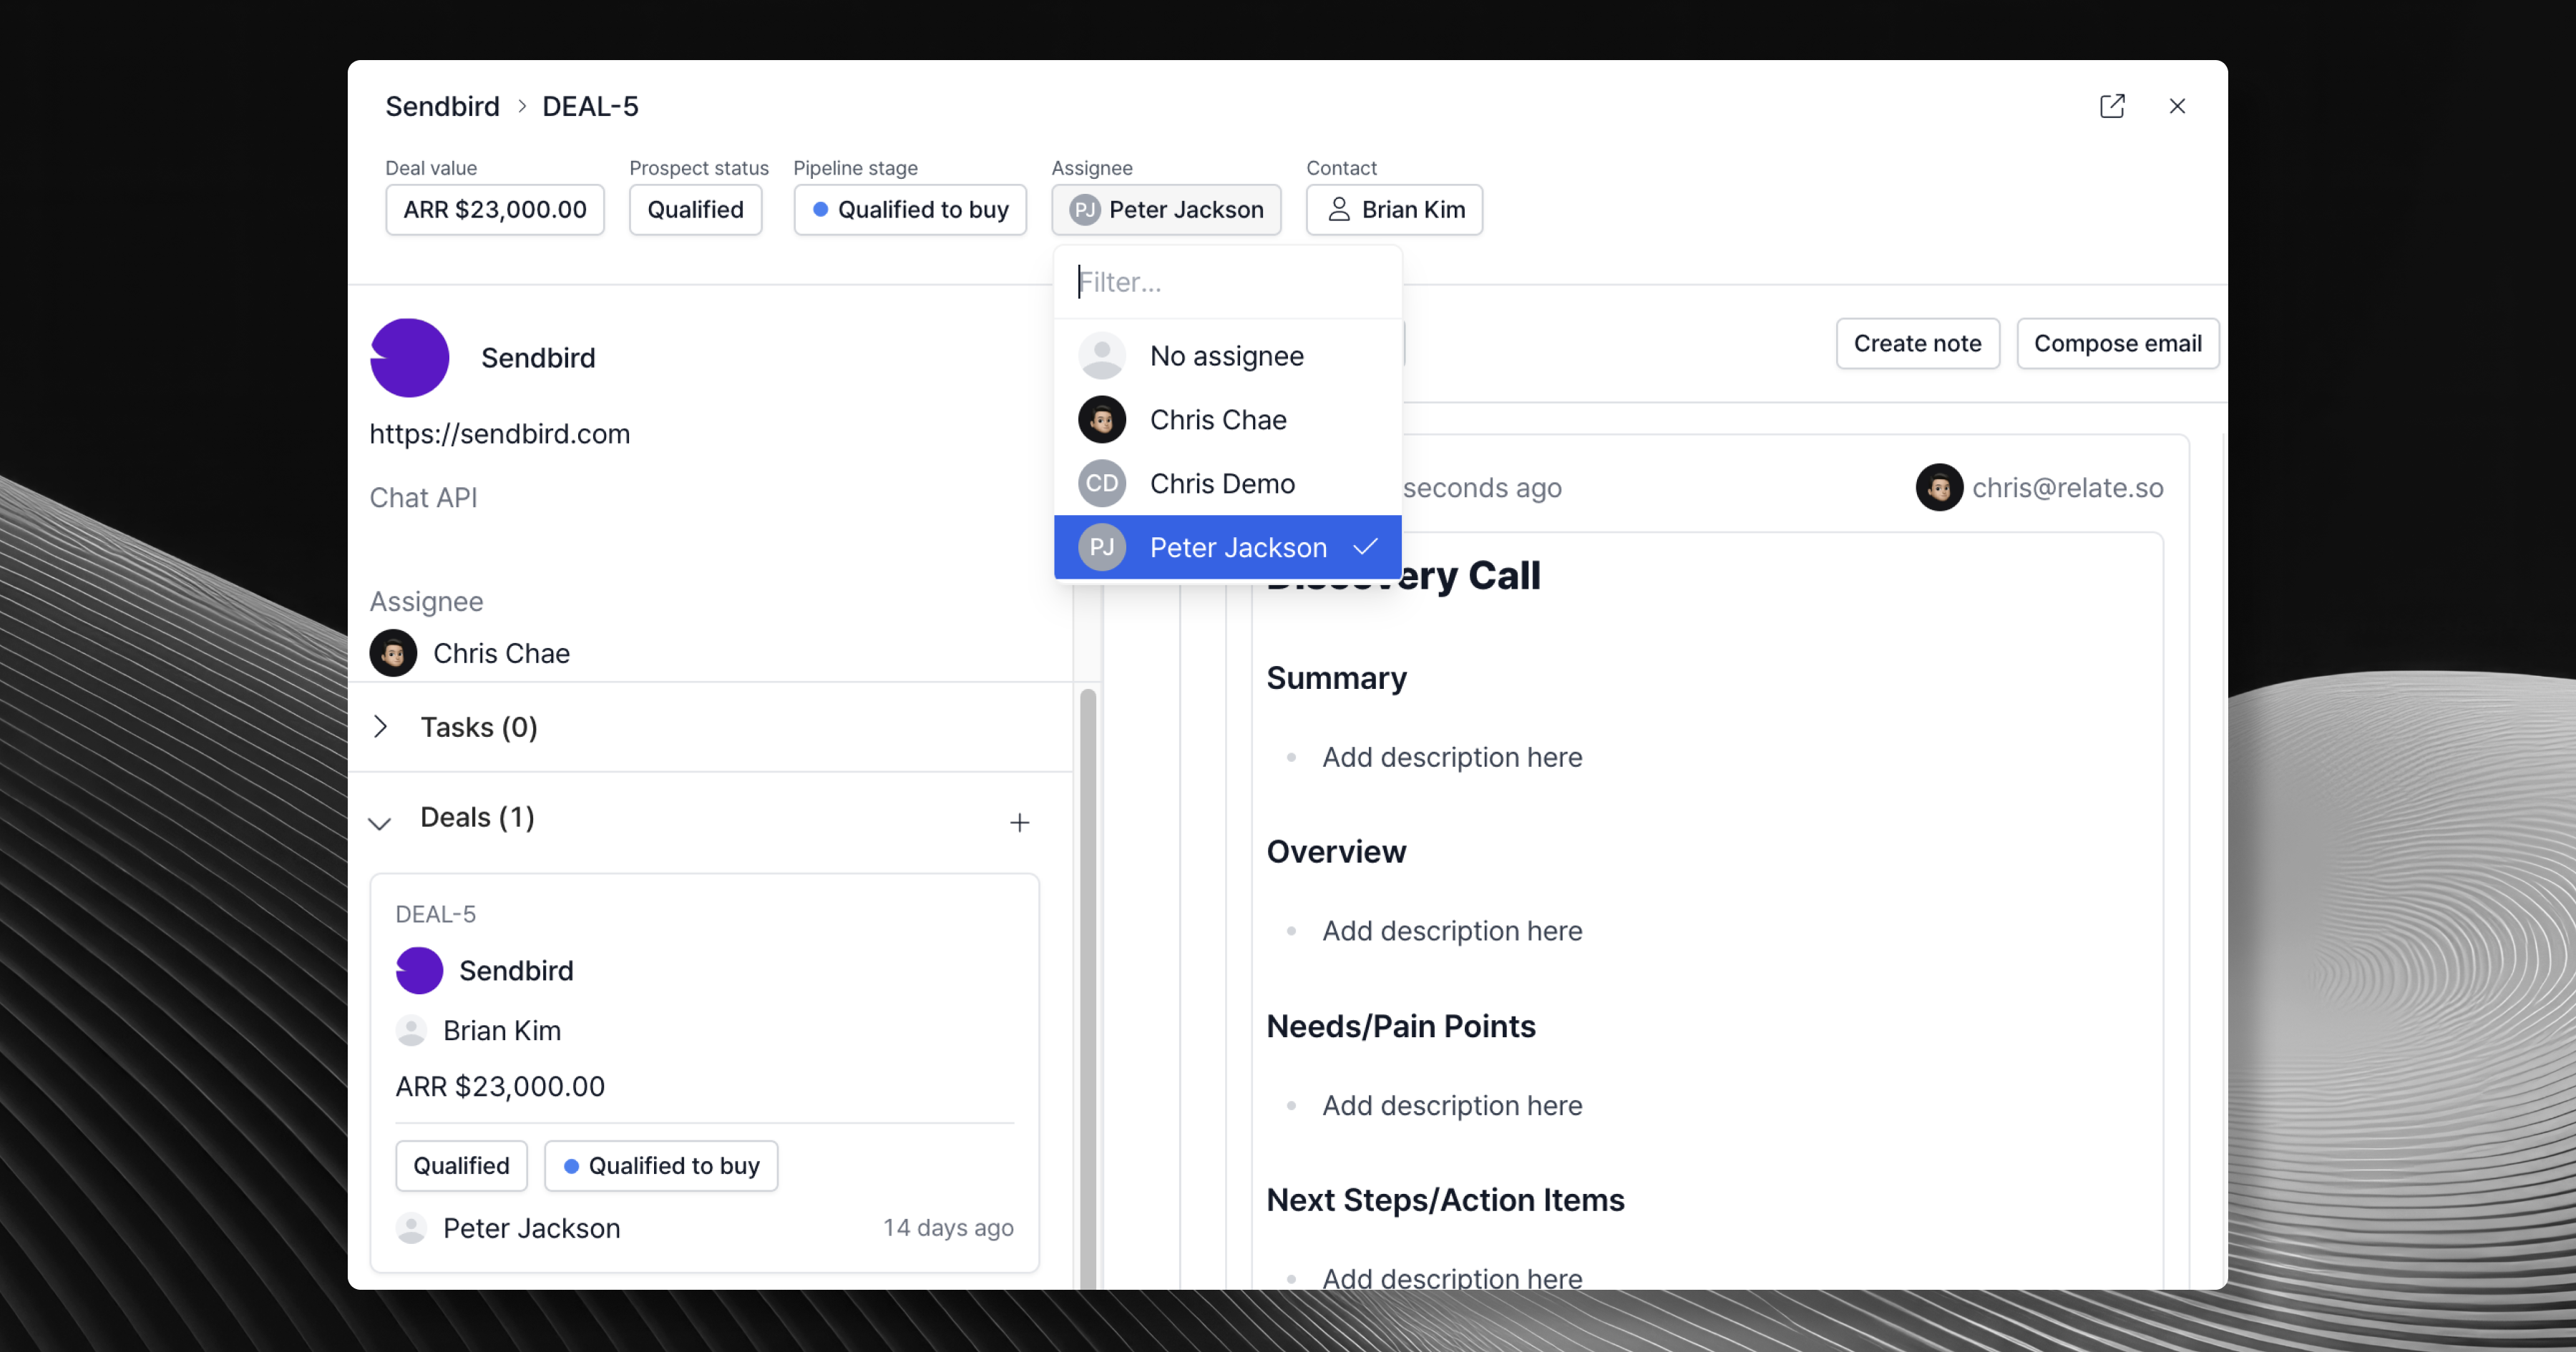
In a Deal, you can add information such as:- Organization: The organization you’re selling to (this is required)
- Person: Main point of contact from the Organization
- Value: Value of the sales opportunity
- Prospect status (this is required)
- Assignee: Who is leading the deal from your team
- Notes: Short description or progress update on the deal
Workflows
Auto-create deals
Creating a new Organization will create a new deal with thePotential status. This allows you to save time creating a corresponding deal for each Organization you create.
Auto-handoffs
Marking a dealQualified status will send the deal to the Close menu — the pipeline.
This automates the SDR -> AE handoff process: when SDR finds a qualified opportunity, they will route the deal to an AE.
These features are experimental - shoot us an email at we@relate.so for any feedback or thoughts.
What if we don't have an SDR? an AE?
What if we don't have an SDR? an AE?
Even if you do not have these roles per se, someone (often the founder) still needs to find new prospects and close them once they are qualified. You can use auto-handoffs feature to quickly convert prospects into qualified leads in your pipeline.