

Overview
Relate supports a full, bi-directional email sync between Relate and your email service (Google Mail, Outlook, etc.). This means you can send and receive emails directly from Relate, and all emails sent and received from your email service are synced to Relate.Choosing a connection method
All email connections start from the Integrations page in the Relate Admin. Depending on your email service, connect using one of the methods below.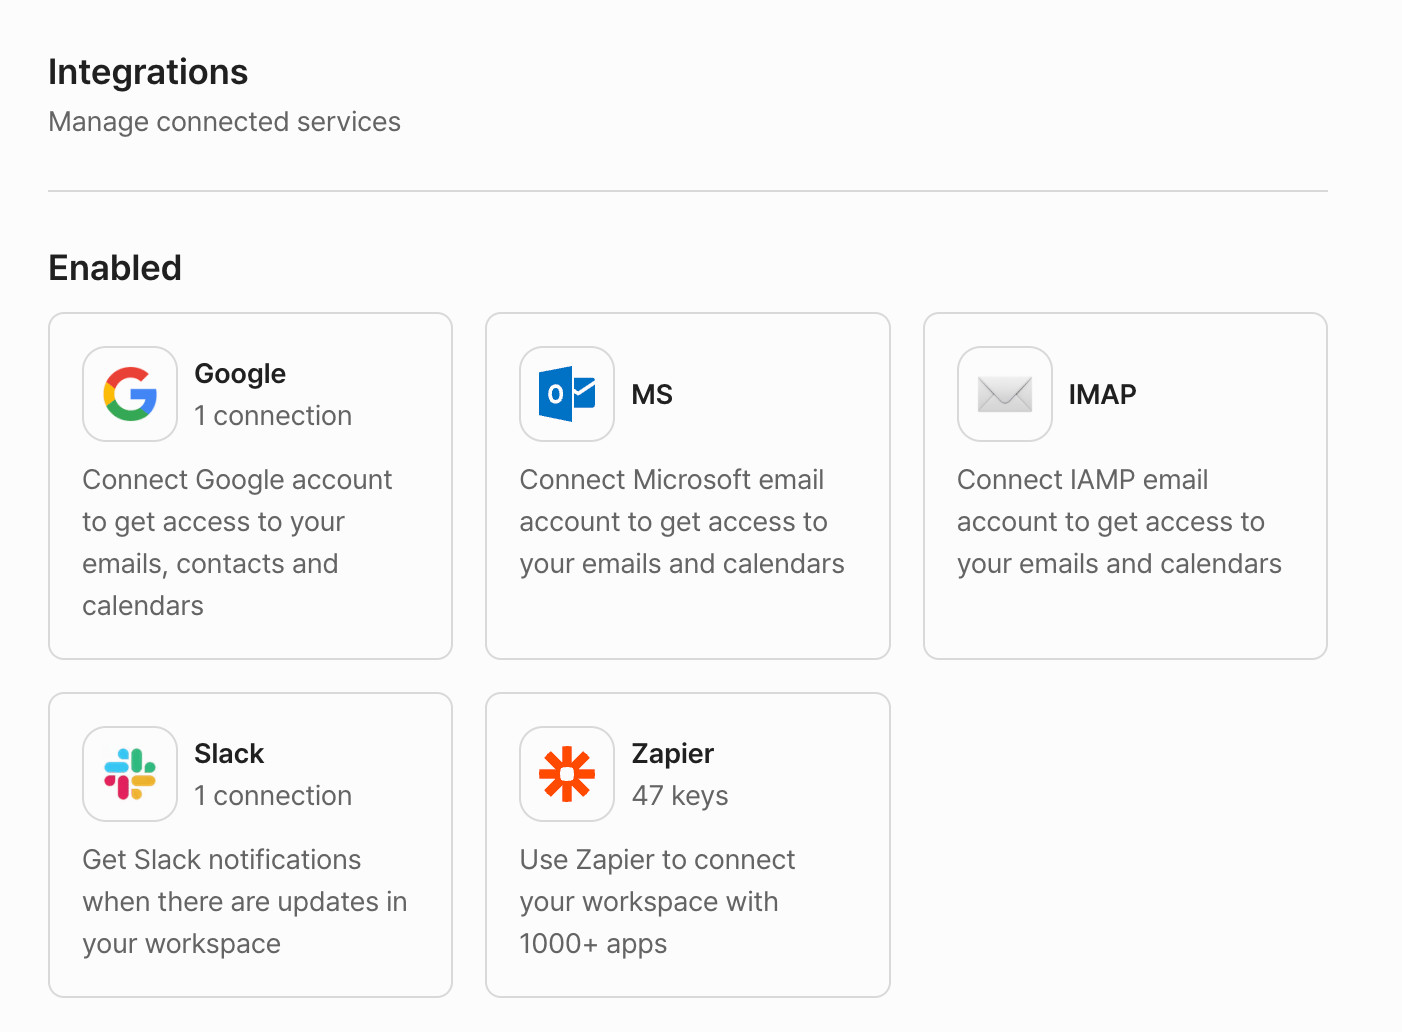
Gmail
Connect a Google / Google Workspace account via OAuth.
Outlook
Connect an Outlook / Office365 account. (Admin approval may be required.)
Regardless of the method, once the account is connected you must complete the final Creating connections step so the email actually syncs in your Workspace.
Connect Gmail
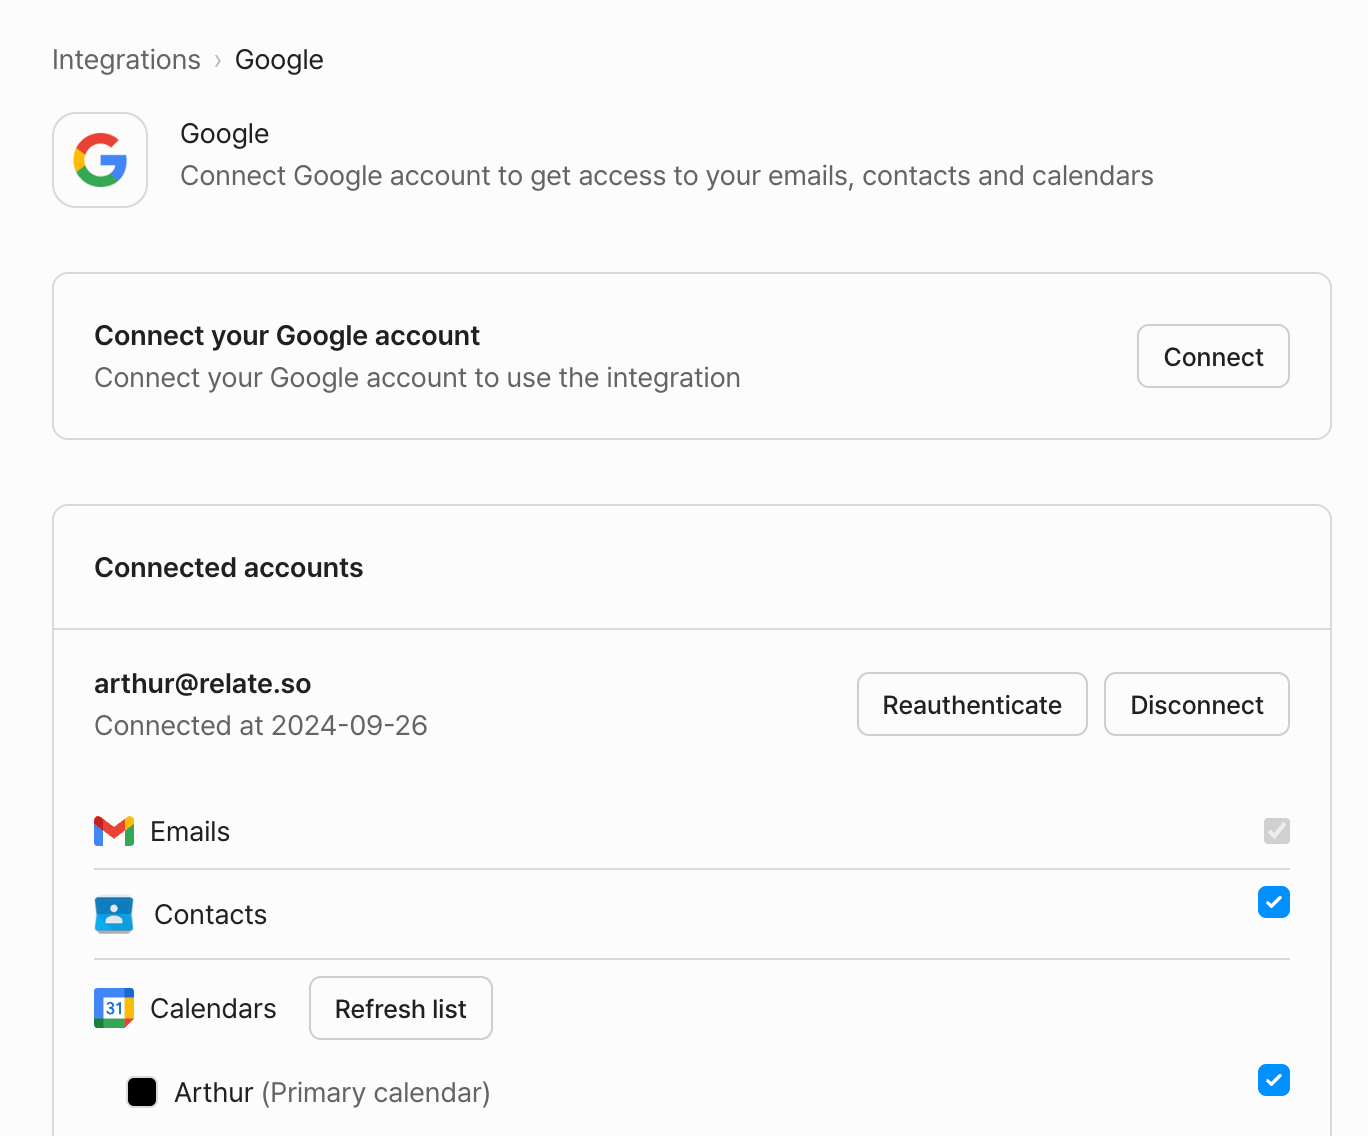
On the Integrations page, select the Google card. Follow the prompts to sign in with your Google account and grant permissions to complete the connection.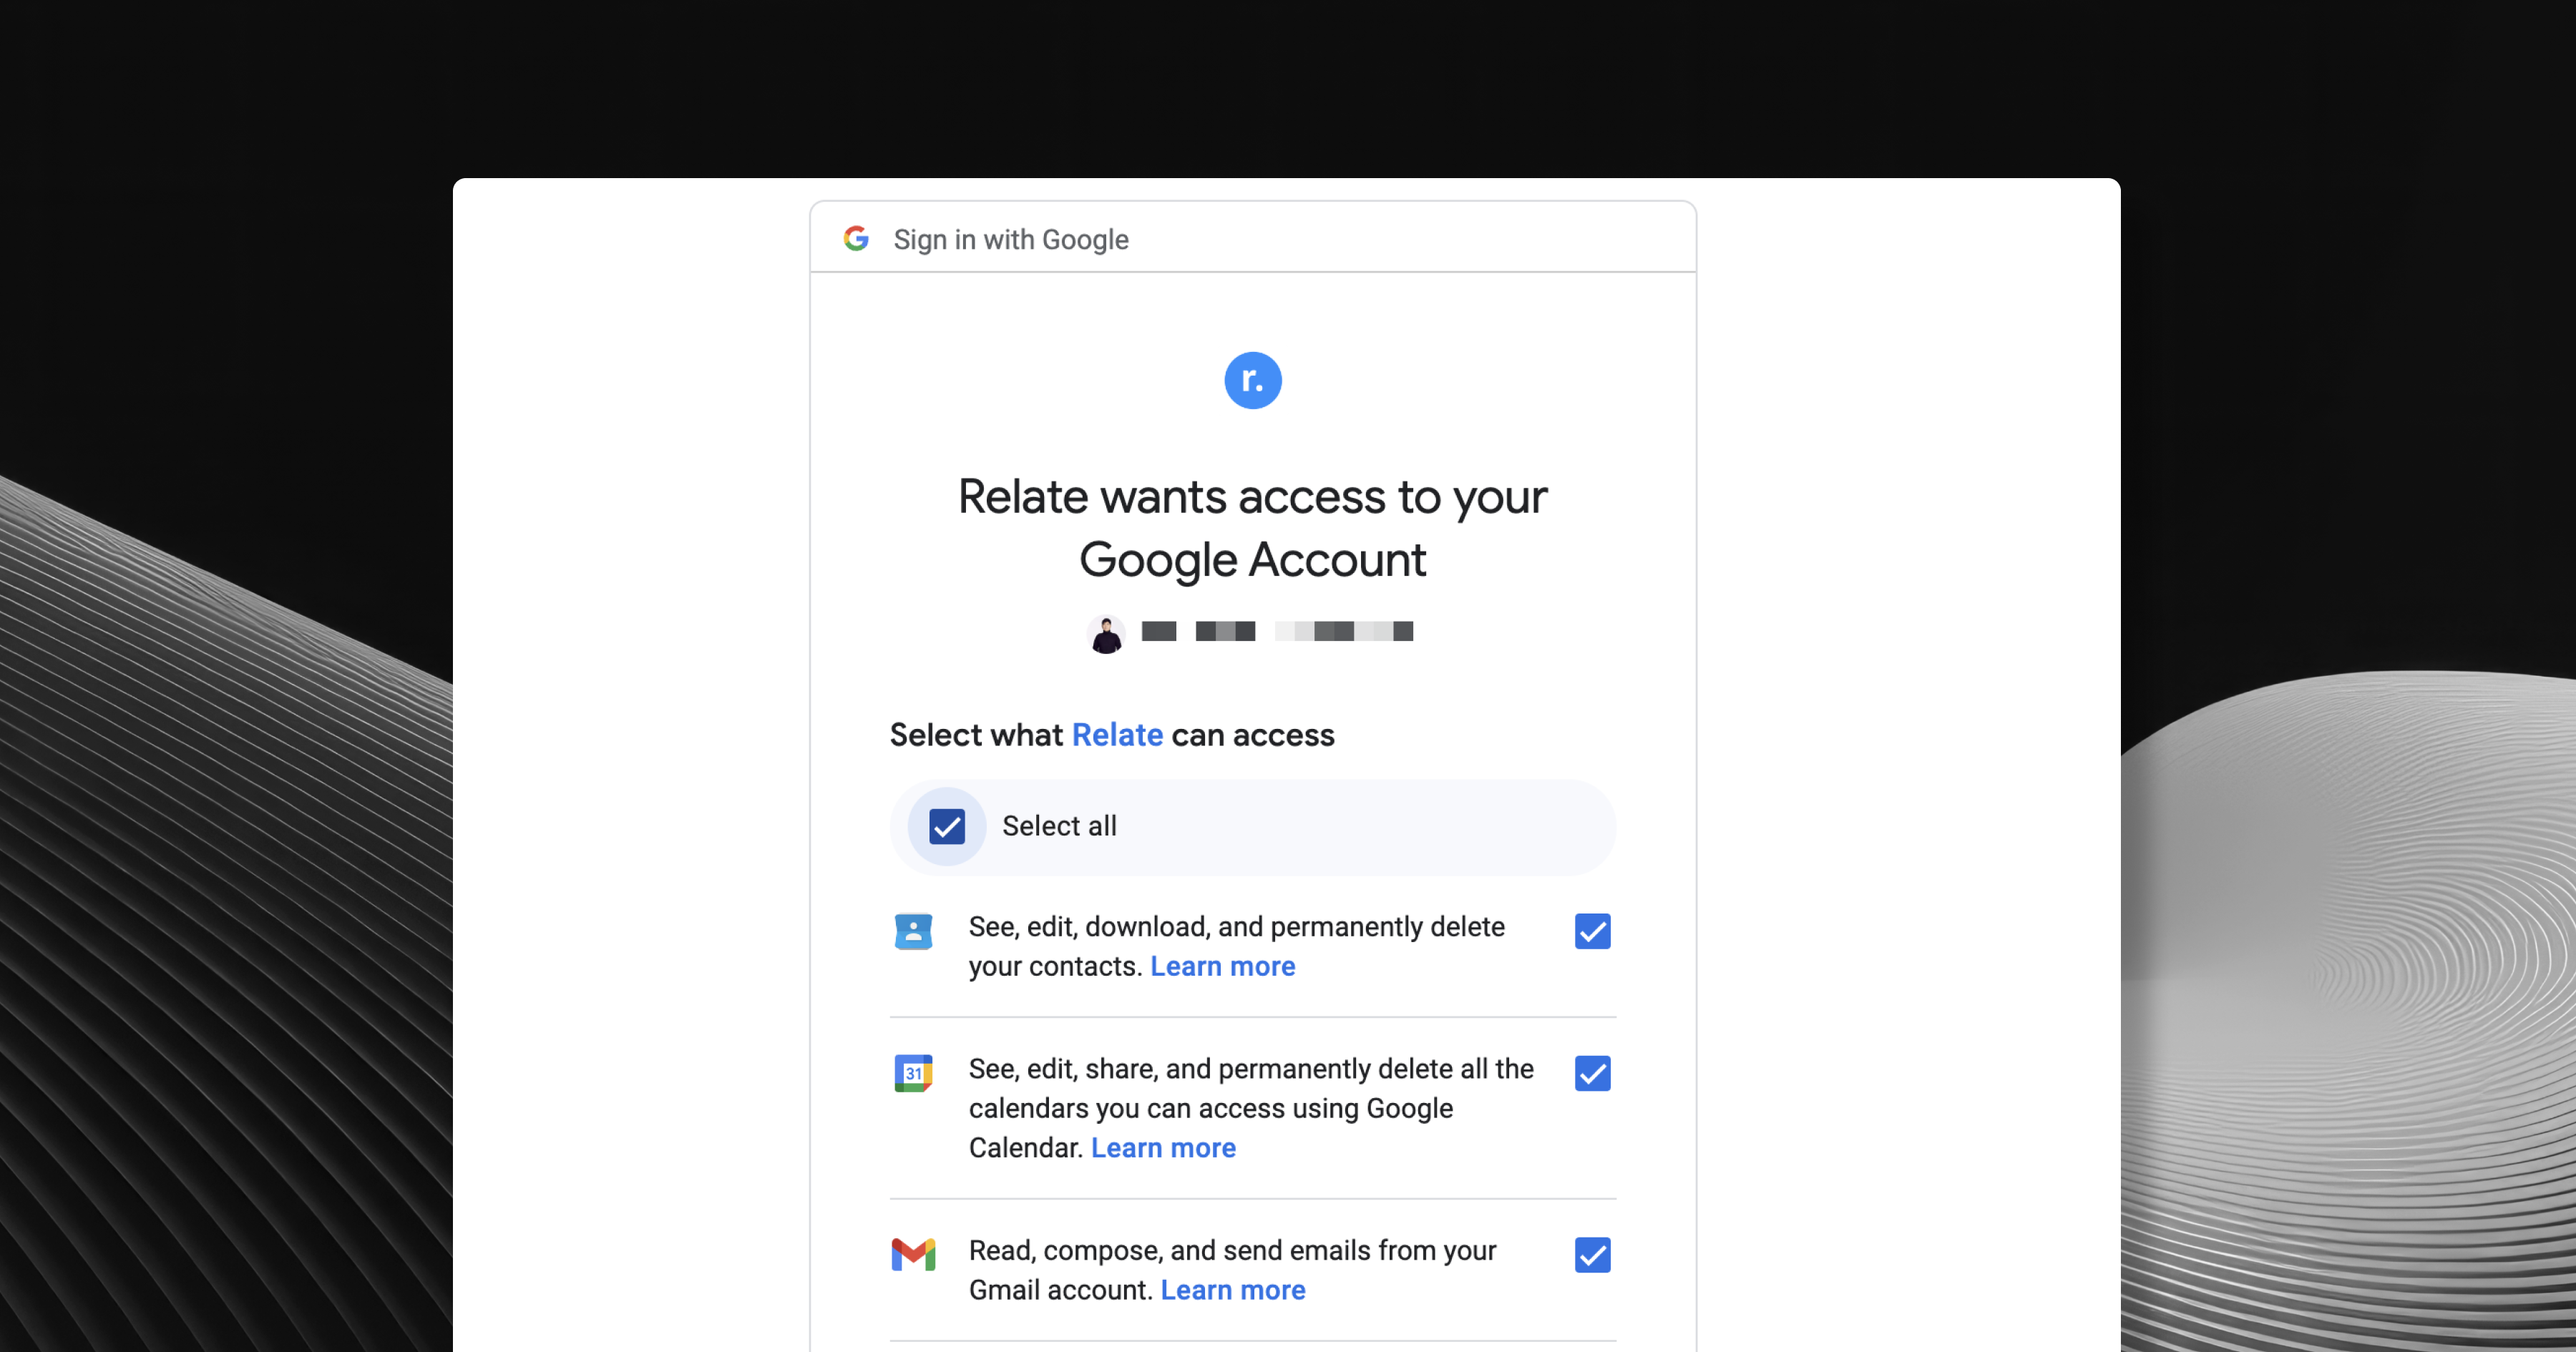
Connect Outlook
On the Integrations page, select the MS (Outlook) card. Follow the prompts to sign in with your Microsoft (Office365 / Outlook) account and grant permissions to complete the connection. Once connected, proceed to Creating connections.If Office365 requires admin approval
If Office365 requires admin approval
When connecting an Office365 account, your organization’s admin may need to approve the app. Follow the steps below.
- Sign in to Office365 with an admin account.
- Go to More > Admin > Show all > Settings > Org settings.
- Select User consent to apps and check whether it is enabled. If disabled, enable it and save.
- Retry the Office365 connection. When the Permissions requested screen appears, select
Acceptto finish.
Creating connections
After connecting your email account, connect it to a Workspace so the sync actually begins.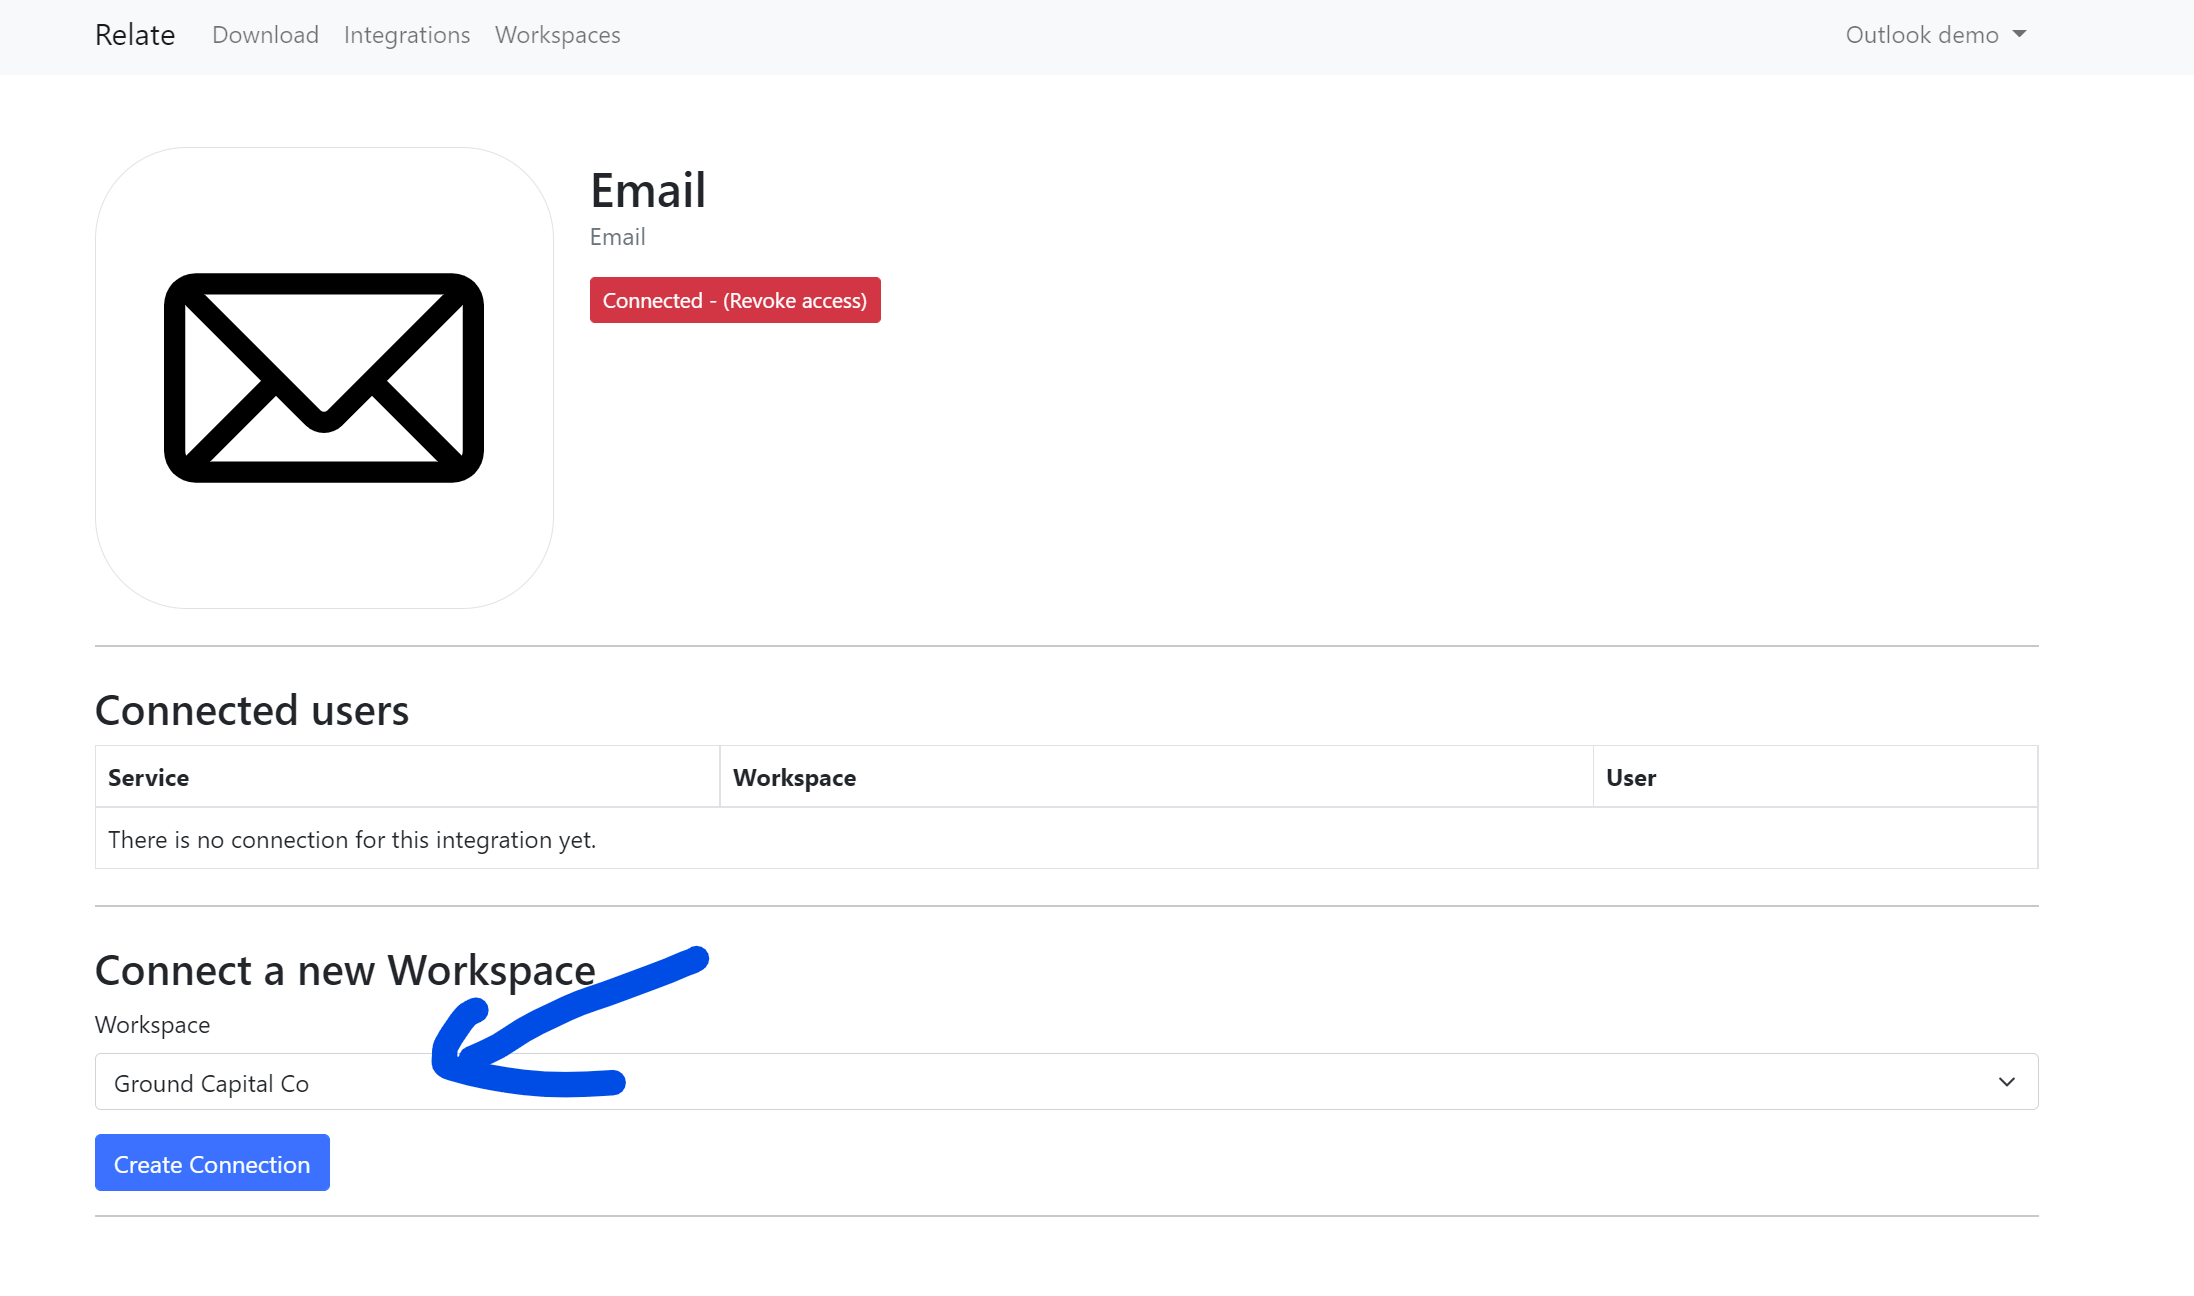
Connect to workspace button.
Frequently Asked Questions
I've connected my email but I don't see any emails in the app.
I've connected my email but I don't see any emails in the app.
Try refreshing the app first with Cmd+Shift+R (Ctrl+Shift+R on Windows). Depending on the amount of email being synced at once, the process can take anywhere from 5 minutes to up to 8 hours.
Changing my email password disconnected the integration.
Changing my email password disconnected the integration.
Changing your email account password disconnects the email connection. In that case, reconnect your email by following the connection steps above.
I use Two-factor Authentication (2FA/MFA) — how do I connect?
I use Two-factor Authentication (2FA/MFA) — how do I connect?
When 2FA/MFA is set, temporarily disable it before connecting with Relate, then connect again.If your email service (Outlook, O365, iCloud, Yahoo!, etc.) supports App Passwords, you can use an App Password instead of your regular password.Links to set up App Passwords for each email service: