> ## Documentation Index
> Fetch the complete documentation index at: https://relate.so/docs/llms.txt
> Use this file to discover all available pages before exploring further.
# Import data
> Learn how to quickly import your data with AI
## Overview
You can import your existing customer data into Relate by uploading a CSV or Excel file.
Relate AI automatically detects the meaning of each column and maps the data to the appropriate fields.
You do not need to manually map columns or create custom fields in advance.
## What you need to know before importing customer data
Relate supports four data types for import.
* [Organizations](/docs/features/organizations)
* [Contacts](/docs/features/people)
* [Processes](/docs/features/processes)
* [Lists](/docs/features/lists)
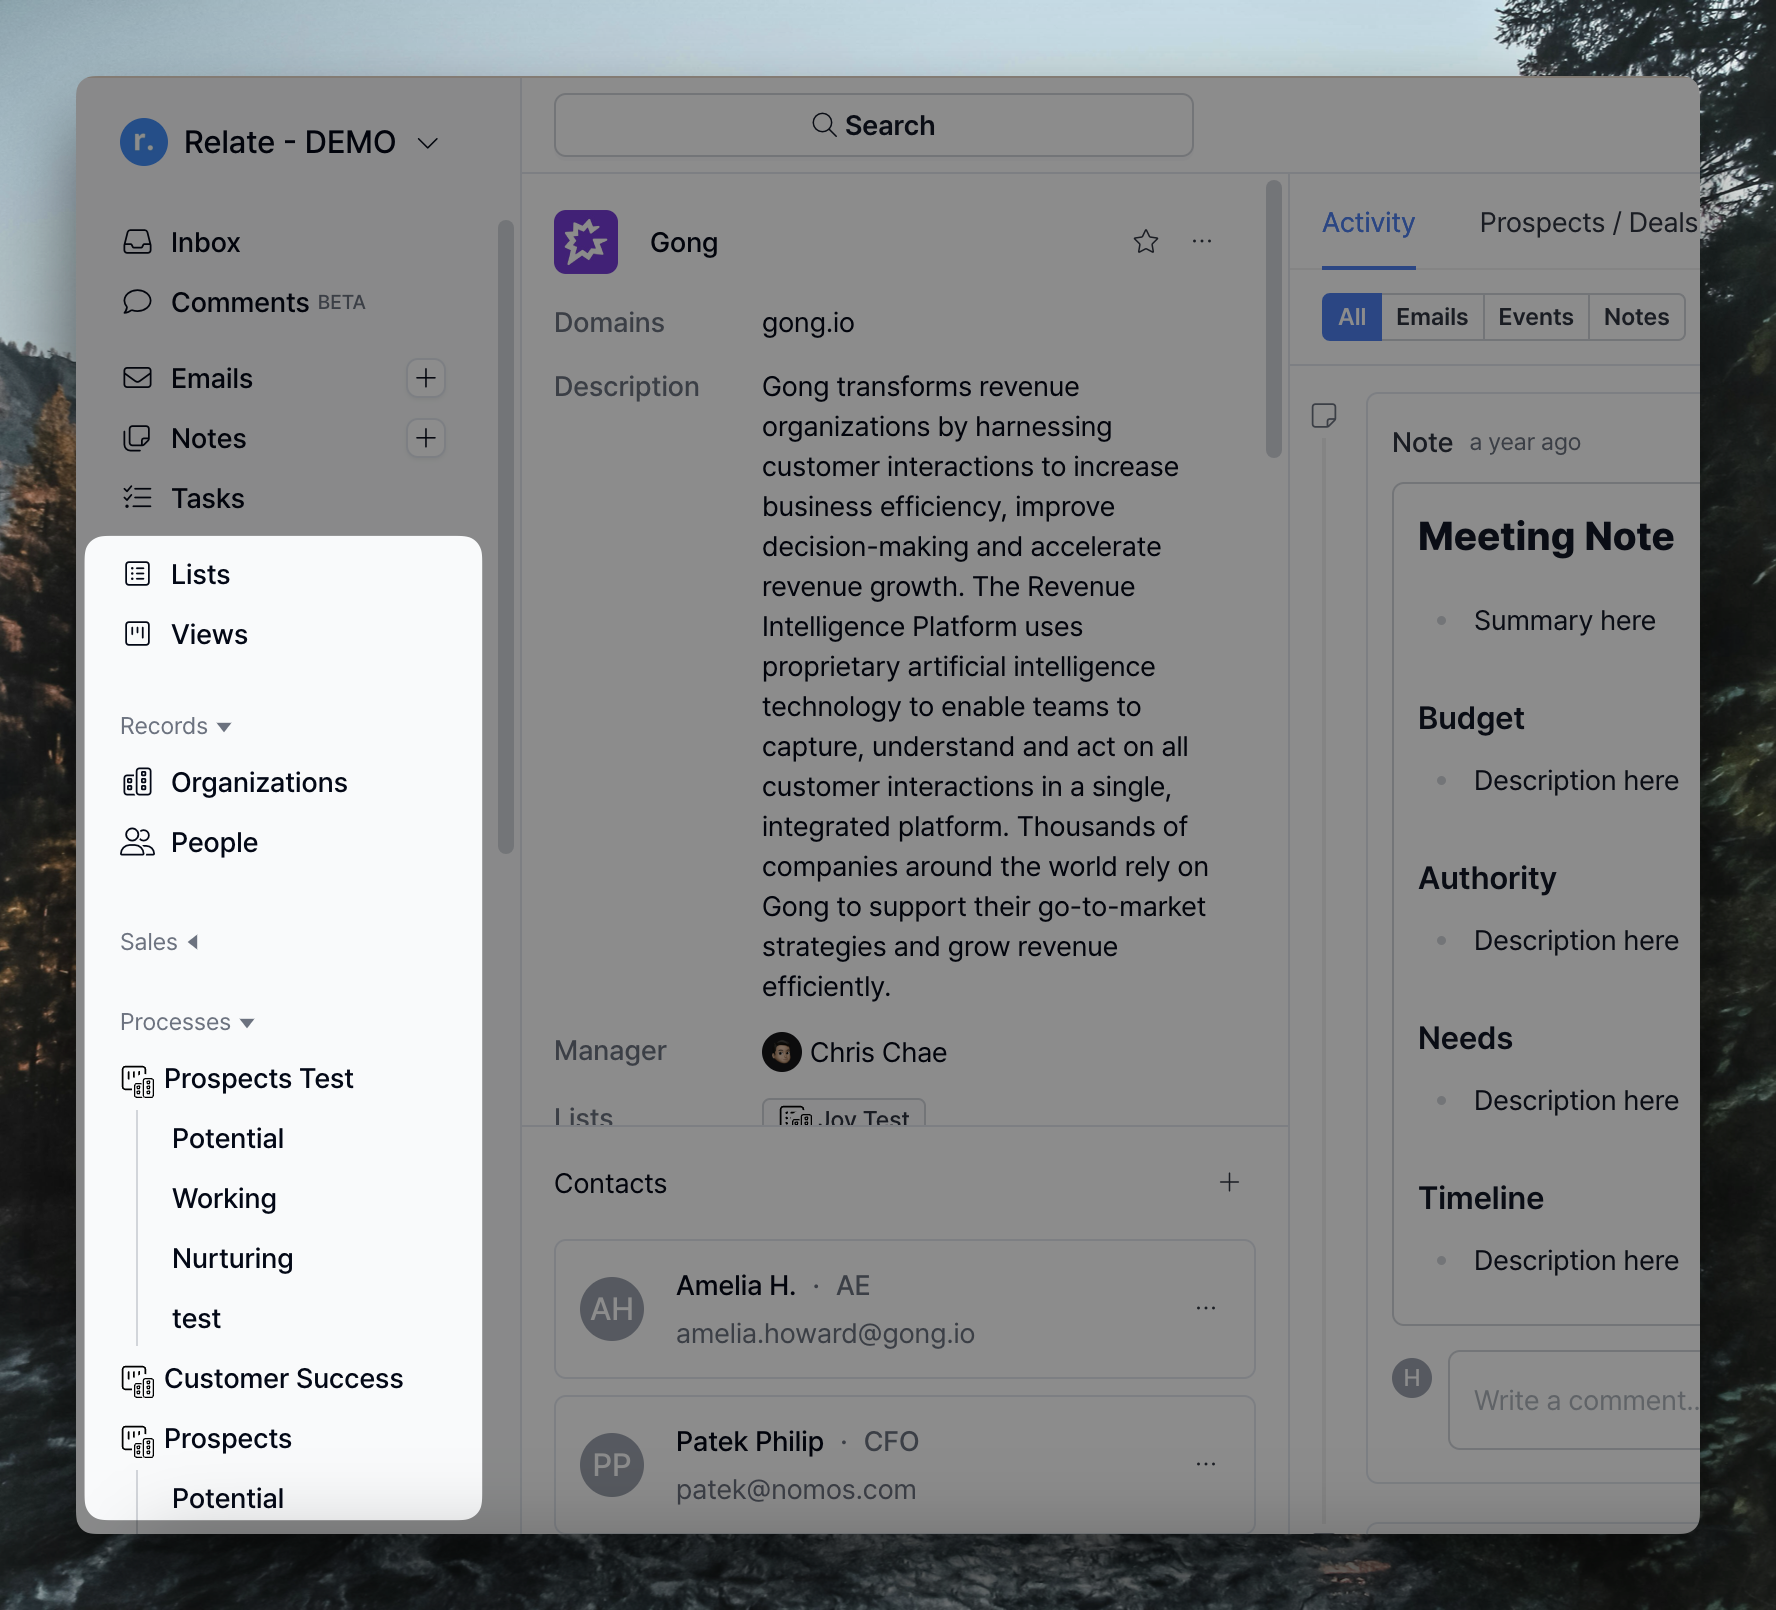 **Organizations are the primary data type** in Relate, and Contacts are always associated with Organizations.
Processes and Lists are a series of deal closing processes and customer lists that you create using Organizations and Contacts.
Each data type has its own default fields.
Some fields are required:
1. Organizations: **Organization name** is required.
2. Contacts: **Contact name** or **Email** is required.
3. Processes / Lists: Check the [Entry](/docs/features/processes#1-entry) type (Organizations or Contacts) of the selected process/list, and proceed with step 1 or 2.
Below you’ll find a quick overview of default fields for each data type.
* **Organization name (Required)**
* Domain (Website): If not provided, the domain is automatically populated using the email domain of associated contacts.
* Description
* Manager
* Contact name
* Email
* Title
* Phone number
By default, processes have different default fields depending on whether the [Entry](/docs/features/processes#1-entry) type is Organization or Contact.
Below are the default fields specific to Processes.
* Value
* Status
* Assignee (assignee email is required)
* Contact
Lists do not have additional default fields beyond Organizations and Contacts fields.
Custom fields are fields **created in addition to Relate’s default fields.**
During import, Relate AI analyzes each column in the file.
If a column cannot be mapped to an existing field, **a new custom field is automatically created and mapped.**
You do not need to create custom fields before importing.
[**Review and edit AI mapping results**](#column-mapping-change)
If you need to adjust the AI-generated mappings, you can change a column to a different field or create a new field and map it directly.
**Organizations are the primary data type** in Relate, and Contacts are always associated with Organizations.
Processes and Lists are a series of deal closing processes and customer lists that you create using Organizations and Contacts.
Each data type has its own default fields.
Some fields are required:
1. Organizations: **Organization name** is required.
2. Contacts: **Contact name** or **Email** is required.
3. Processes / Lists: Check the [Entry](/docs/features/processes#1-entry) type (Organizations or Contacts) of the selected process/list, and proceed with step 1 or 2.
Below you’ll find a quick overview of default fields for each data type.
* **Organization name (Required)**
* Domain (Website): If not provided, the domain is automatically populated using the email domain of associated contacts.
* Description
* Manager
* Contact name
* Email
* Title
* Phone number
By default, processes have different default fields depending on whether the [Entry](/docs/features/processes#1-entry) type is Organization or Contact.
Below are the default fields specific to Processes.
* Value
* Status
* Assignee (assignee email is required)
* Contact
Lists do not have additional default fields beyond Organizations and Contacts fields.
Custom fields are fields **created in addition to Relate’s default fields.**
During import, Relate AI analyzes each column in the file.
If a column cannot be mapped to an existing field, **a new custom field is automatically created and mapped.**
You do not need to create custom fields before importing.
[**Review and edit AI mapping results**](#column-mapping-change)
If you need to adjust the AI-generated mappings, you can change a column to a different field or create a new field and map it directly.
## How to import your data
### Step 1. Upload your file
* Open the Relate app and select `Workspace settings` from the top-left menu.
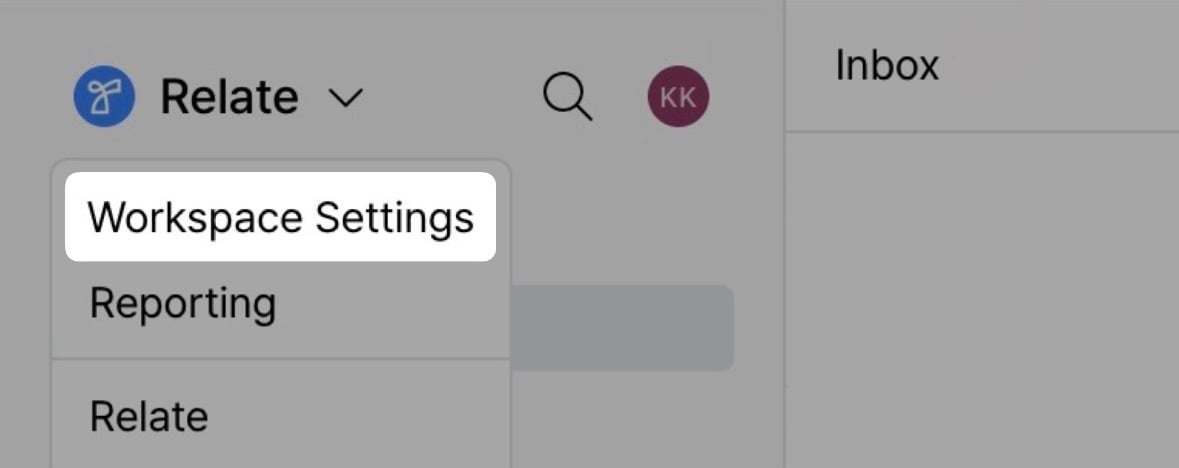 * Select `Import` from the left sidebar, and click `Import contacts` in the top-right corner.
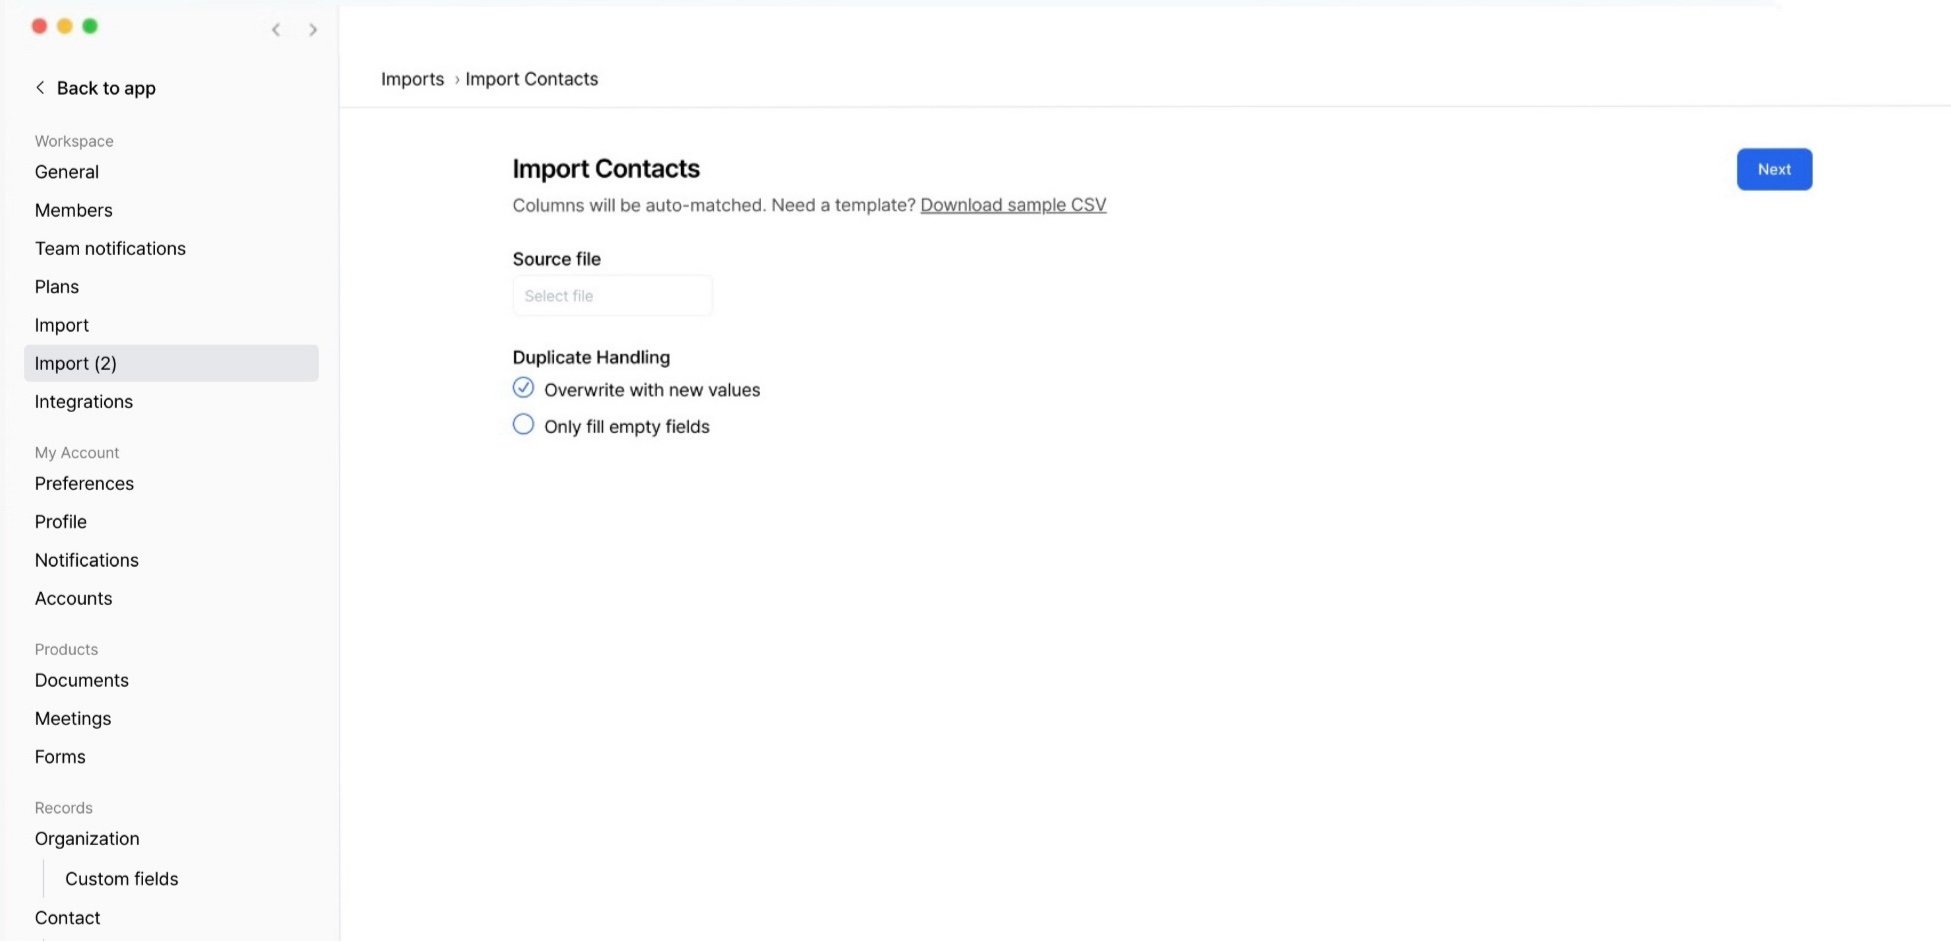 * Click `Select file` and upload a CSV or Excel file.
### Step 2. Select duplicate handling options
After uploading the file, select how to handle duplicate data.
* Click `Select file` and upload a CSV or Excel file.
### Step 2. Select duplicate handling options
After uploading the file, select how to handle duplicate data.
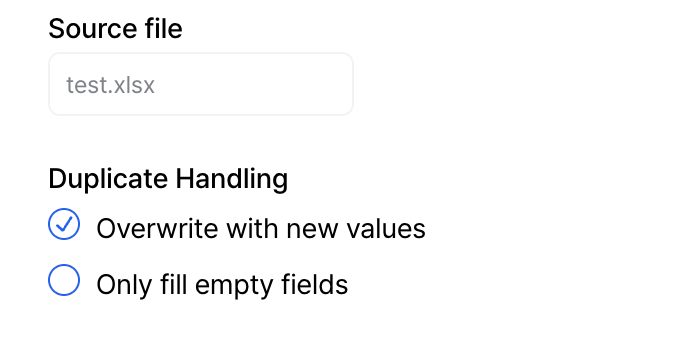 * `Overwrite with new values`
Even if existing Contacts/Organizations already have values, all fields are updated using the values from the imported file.
* `Only fill empty fields`
Existing values are preserved, and only empty fields are filled.
Import data based on your purpose by selecting one of the cases below.
**This applies if:**\
➡️ You are using Relate for the first time\
➡️ There is little or no existing data, or existing data is not important
**Recommended options**\
✅ `Overwrite with new values`\
✅ `Only fill empty fields`
For an initial import, both options produce the same result.
**This applies if:**\
➡️ Contacts/Organizations already exist in Relate\
➡️ You want to broadly update existing data using the latest CSV file or external data
**Recommended option**\
✅ `Overwrite with new values`
When this option is selected, all fields are updated using values from the imported file, even if existing values are present.
**This applies if:**\
➡️ Existing data is highly reliable\
➡️ You only want to fill empty fields or supplement newly added information\
➡️ You want to add new data without modifying existing values
**Recommended option**\
✅ `Only fill empty fields`
When this option is selected, existing values are preserved and only empty fields are filled using the imported data.
After selecting a duplicate handling option, click `Next` in the top-right corner to start AI mapping.
### Step 3. Review AI mapping results
On the next screen, Relate AI analyzes the meaning of each column and displays the automatically mapped results.
* `Overwrite with new values`
Even if existing Contacts/Organizations already have values, all fields are updated using the values from the imported file.
* `Only fill empty fields`
Existing values are preserved, and only empty fields are filled.
Import data based on your purpose by selecting one of the cases below.
**This applies if:**\
➡️ You are using Relate for the first time\
➡️ There is little or no existing data, or existing data is not important
**Recommended options**\
✅ `Overwrite with new values`\
✅ `Only fill empty fields`
For an initial import, both options produce the same result.
**This applies if:**\
➡️ Contacts/Organizations already exist in Relate\
➡️ You want to broadly update existing data using the latest CSV file or external data
**Recommended option**\
✅ `Overwrite with new values`
When this option is selected, all fields are updated using values from the imported file, even if existing values are present.
**This applies if:**\
➡️ Existing data is highly reliable\
➡️ You only want to fill empty fields or supplement newly added information\
➡️ You want to add new data without modifying existing values
**Recommended option**\
✅ `Only fill empty fields`
When this option is selected, existing values are preserved and only empty fields are filled using the imported data.
After selecting a duplicate handling option, click `Next` in the top-right corner to start AI mapping.
### Step 3. Review AI mapping results
On the next screen, Relate AI analyzes the meaning of each column and displays the automatically mapped results.
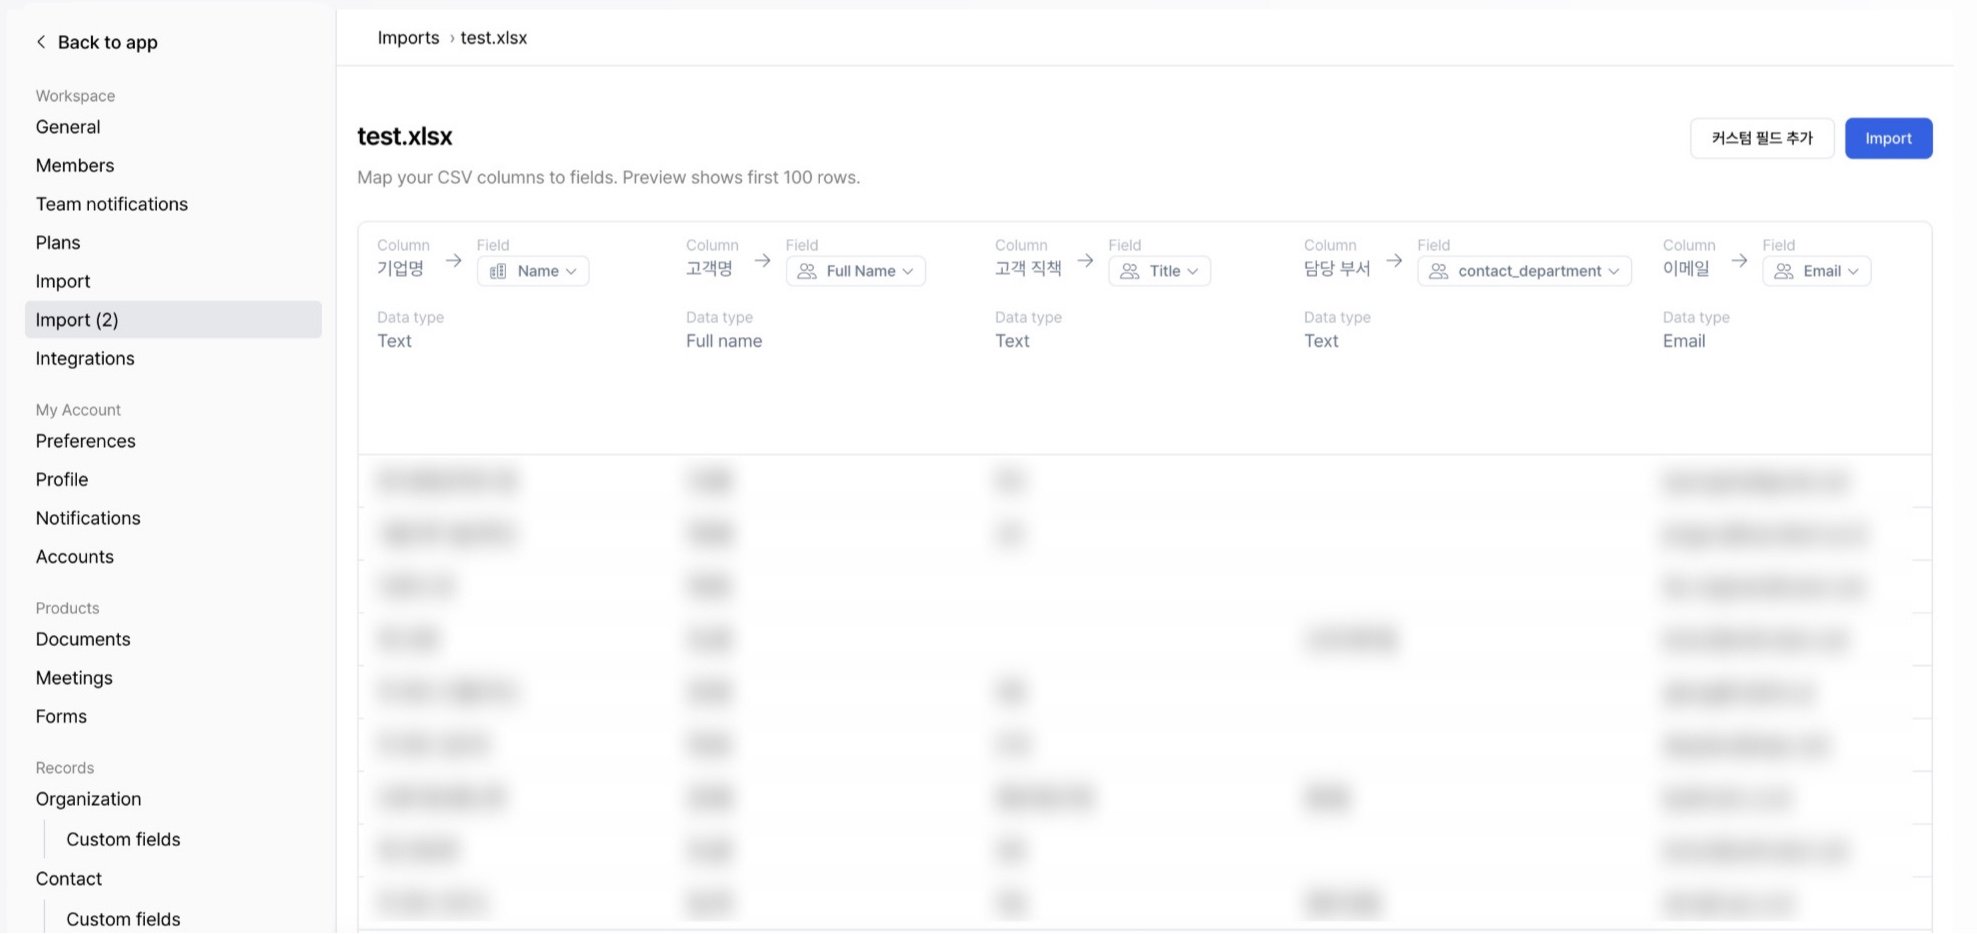 Field types are divided into Contact Fields and Organization Fields.
 Contact Field:
Columns selected as Contact Fields are imported as **Contacts**.
Contact Field:
Columns selected as Contact Fields are imported as **Contacts**.
 Organization Field:
Columns selected as Organization Fields are imported as **Organizations**.
Organization Field:
Columns selected as Organization Fields are imported as **Organizations**.
#### Change column mapping
* When you click the field mapped to each column, a list of available fields is displayed. You can select a different field from the list to change the column mapping.
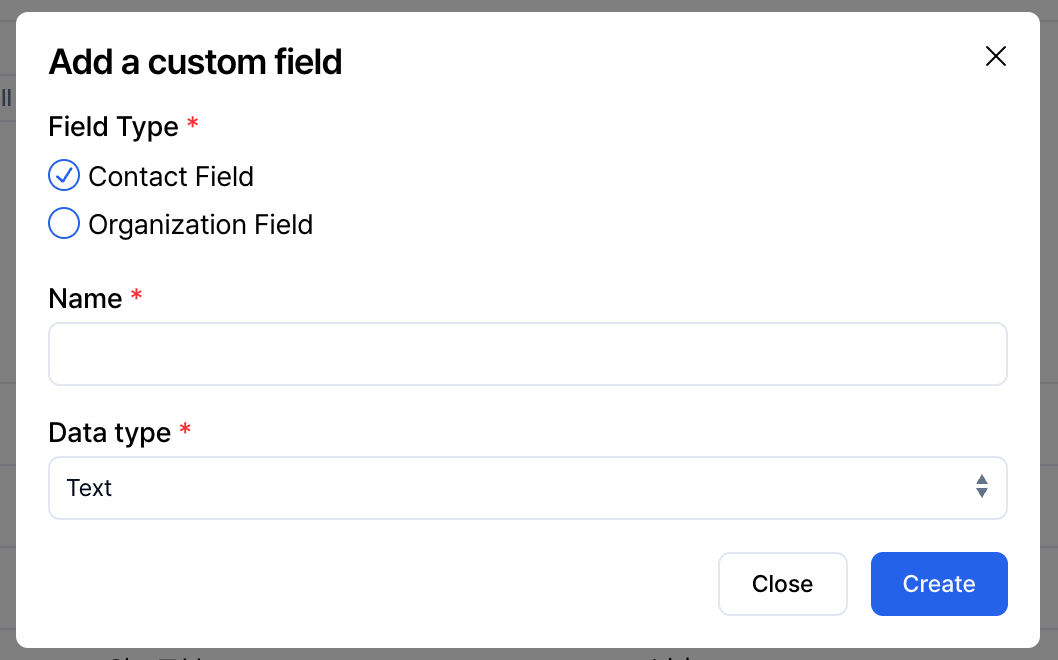
* If there is no suitable field to map, you can click `Add a custom field` in the top-right corner to create a new field and map it immediately.
 ### Step 4. Run the import
* After reviewing the mapping results, click the `Import` button in the top-right corner.
* When the import is complete, you are redirected to the result page.
### Step 4. Run the import
* After reviewing the mapping results, click the `Import` button in the top-right corner.
* When the import is complete, you are redirected to the result page.
## View import results
After the import is complete, the result page shows an overview of data that was **created, updated, or failed**.
 > #### Contact import results
The left side of the top section shows a summary of Contact import results.
* Contacts found: Number of contacts detected during the import process
* **created**: Number of newly created contacts
* **updated**: Number of existing contacts that were updated
* **failed**: Number of contacts that failed to import
> #### Organization import results
The right side of the top section shows a summary of Organization import results.
* Organizations found: Number of organizations detected during the import process
* **created**: Number of newly created organizations
**When organization information is included in the import file**
Existing organizations are automatically matched.
A new organization is created only when no matching organization is found.
> #### Review failed records
If there are rows that failed to import, you can review the reason in the `Failed Records` section at the bottom of the result page.
> #### Contact import results
The left side of the top section shows a summary of Contact import results.
* Contacts found: Number of contacts detected during the import process
* **created**: Number of newly created contacts
* **updated**: Number of existing contacts that were updated
* **failed**: Number of contacts that failed to import
> #### Organization import results
The right side of the top section shows a summary of Organization import results.
* Organizations found: Number of organizations detected during the import process
* **created**: Number of newly created organizations
**When organization information is included in the import file**
Existing organizations are automatically matched.
A new organization is created only when no matching organization is found.
> #### Review failed records
If there are rows that failed to import, you can review the reason in the `Failed Records` section at the bottom of the result page.
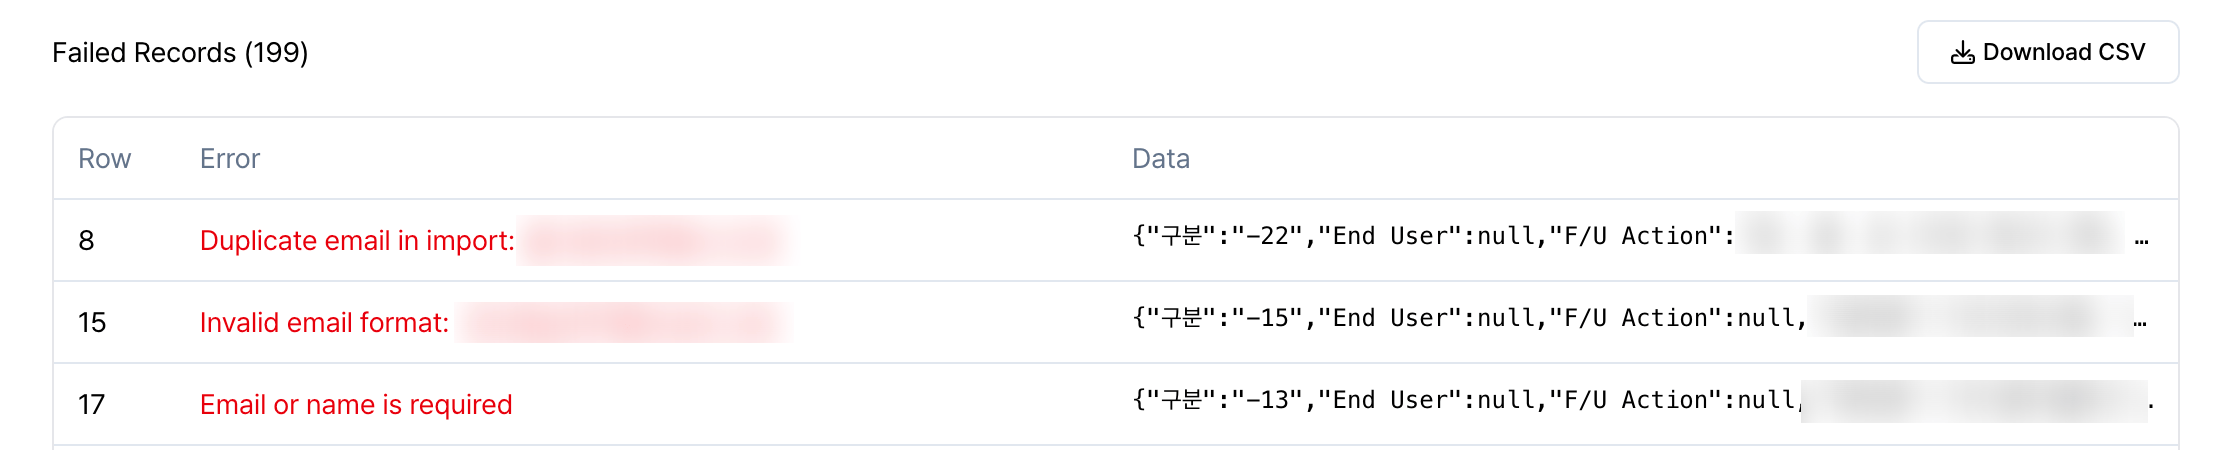 Each failed row displays the following information:
* Row: Row number in the original file
* Error: Reason the import failed
* Data: Original data for the row
Common failure reasons include:
⛔️ `Invalid email format`: The email format is invalid
⛔️ `Duplicate email in import`: The same email appears more than once in the import file
⛔️ `Email or name is required`: Both contact email and contact name are missing or invalid
> #### Reprocessing failed records
Click `Download CSV` on the right side of the Failed Records section to download a CSV file containing only failed rows.
After fixing the errors in the file, run the import again to import the missing data.
## Import directly into Processes or Lists
If you want to upload contacts or organizations and import them directly into a specific process or list, you can start the import from that process or list.
**Step 1. Select or create a process/list**
Select an existing process/list, or create a new one.
Each failed row displays the following information:
* Row: Row number in the original file
* Error: Reason the import failed
* Data: Original data for the row
Common failure reasons include:
⛔️ `Invalid email format`: The email format is invalid
⛔️ `Duplicate email in import`: The same email appears more than once in the import file
⛔️ `Email or name is required`: Both contact email and contact name are missing or invalid
> #### Reprocessing failed records
Click `Download CSV` on the right side of the Failed Records section to download a CSV file containing only failed rows.
After fixing the errors in the file, run the import again to import the missing data.
## Import directly into Processes or Lists
If you want to upload contacts or organizations and import them directly into a specific process or list, you can start the import from that process or list.
**Step 1. Select or create a process/list**
Select an existing process/list, or create a new one.
 Each process/list has a single entry type (either contact or organization), so be sure to select one that matches the type of data you want to import.
**Step 2. Select CSV import**
From the process or list you want to import into, click `+ New contact` or `+ New organization` at the top.
Each process/list has a single entry type (either contact or organization), so be sure to select one that matches the type of data you want to import.
**Step 2. Select CSV import**
From the process or list you want to import into, click `+ New contact` or `+ New organization` at the top.
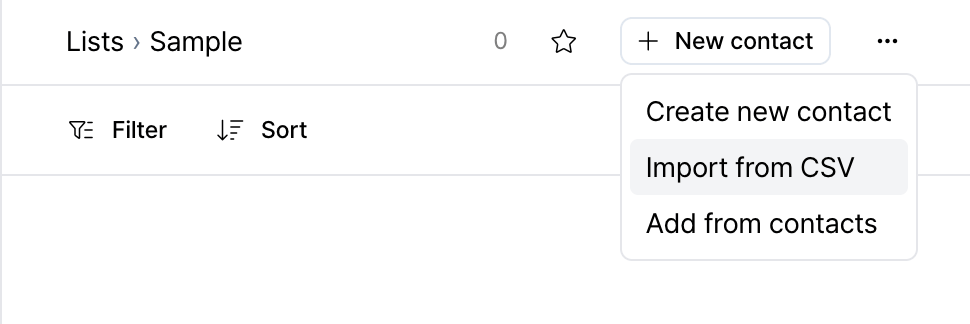 Select `Import from CSV` to move to the import screen.
**Step 3. Run the import**
The rest of the process follows the same import steps described earlier.\
Once the import is complete, each row will be created as a single entry and added directly to the selected process or list.
Select `Import from CSV` to move to the import screen.
**Step 3. Run the import**
The rest of the process follows the same import steps described earlier.\
Once the import is complete, each row will be created as a single entry and added directly to the selected process or list.
## Important notes before importing
* **Review AI mapping results**: Before running the import or on the result page, verify that AI-mapped fields match your intended data.
* **Start with a small test import**: If this is your first time importing data, run a test import with a small dataset before importing all data.
* **Back up the original file**: Before importing, back up your original CSV/Excel file. This is especially important when using the Overwrite option, as it allows you to restore data if needed.
## Frequently asked questions (FAQ)
Open the file and save it as an XLSX file instead of CSV using the steps below.
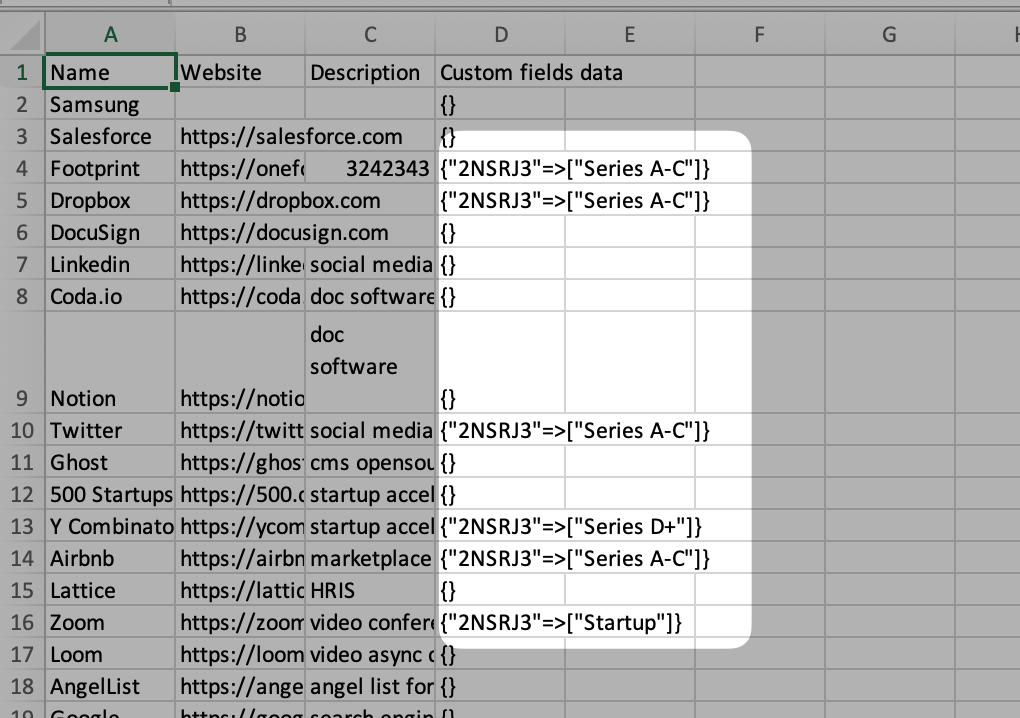
**1. In Microsoft Excel, go to the Data tab and click Get Data (Power Query)**
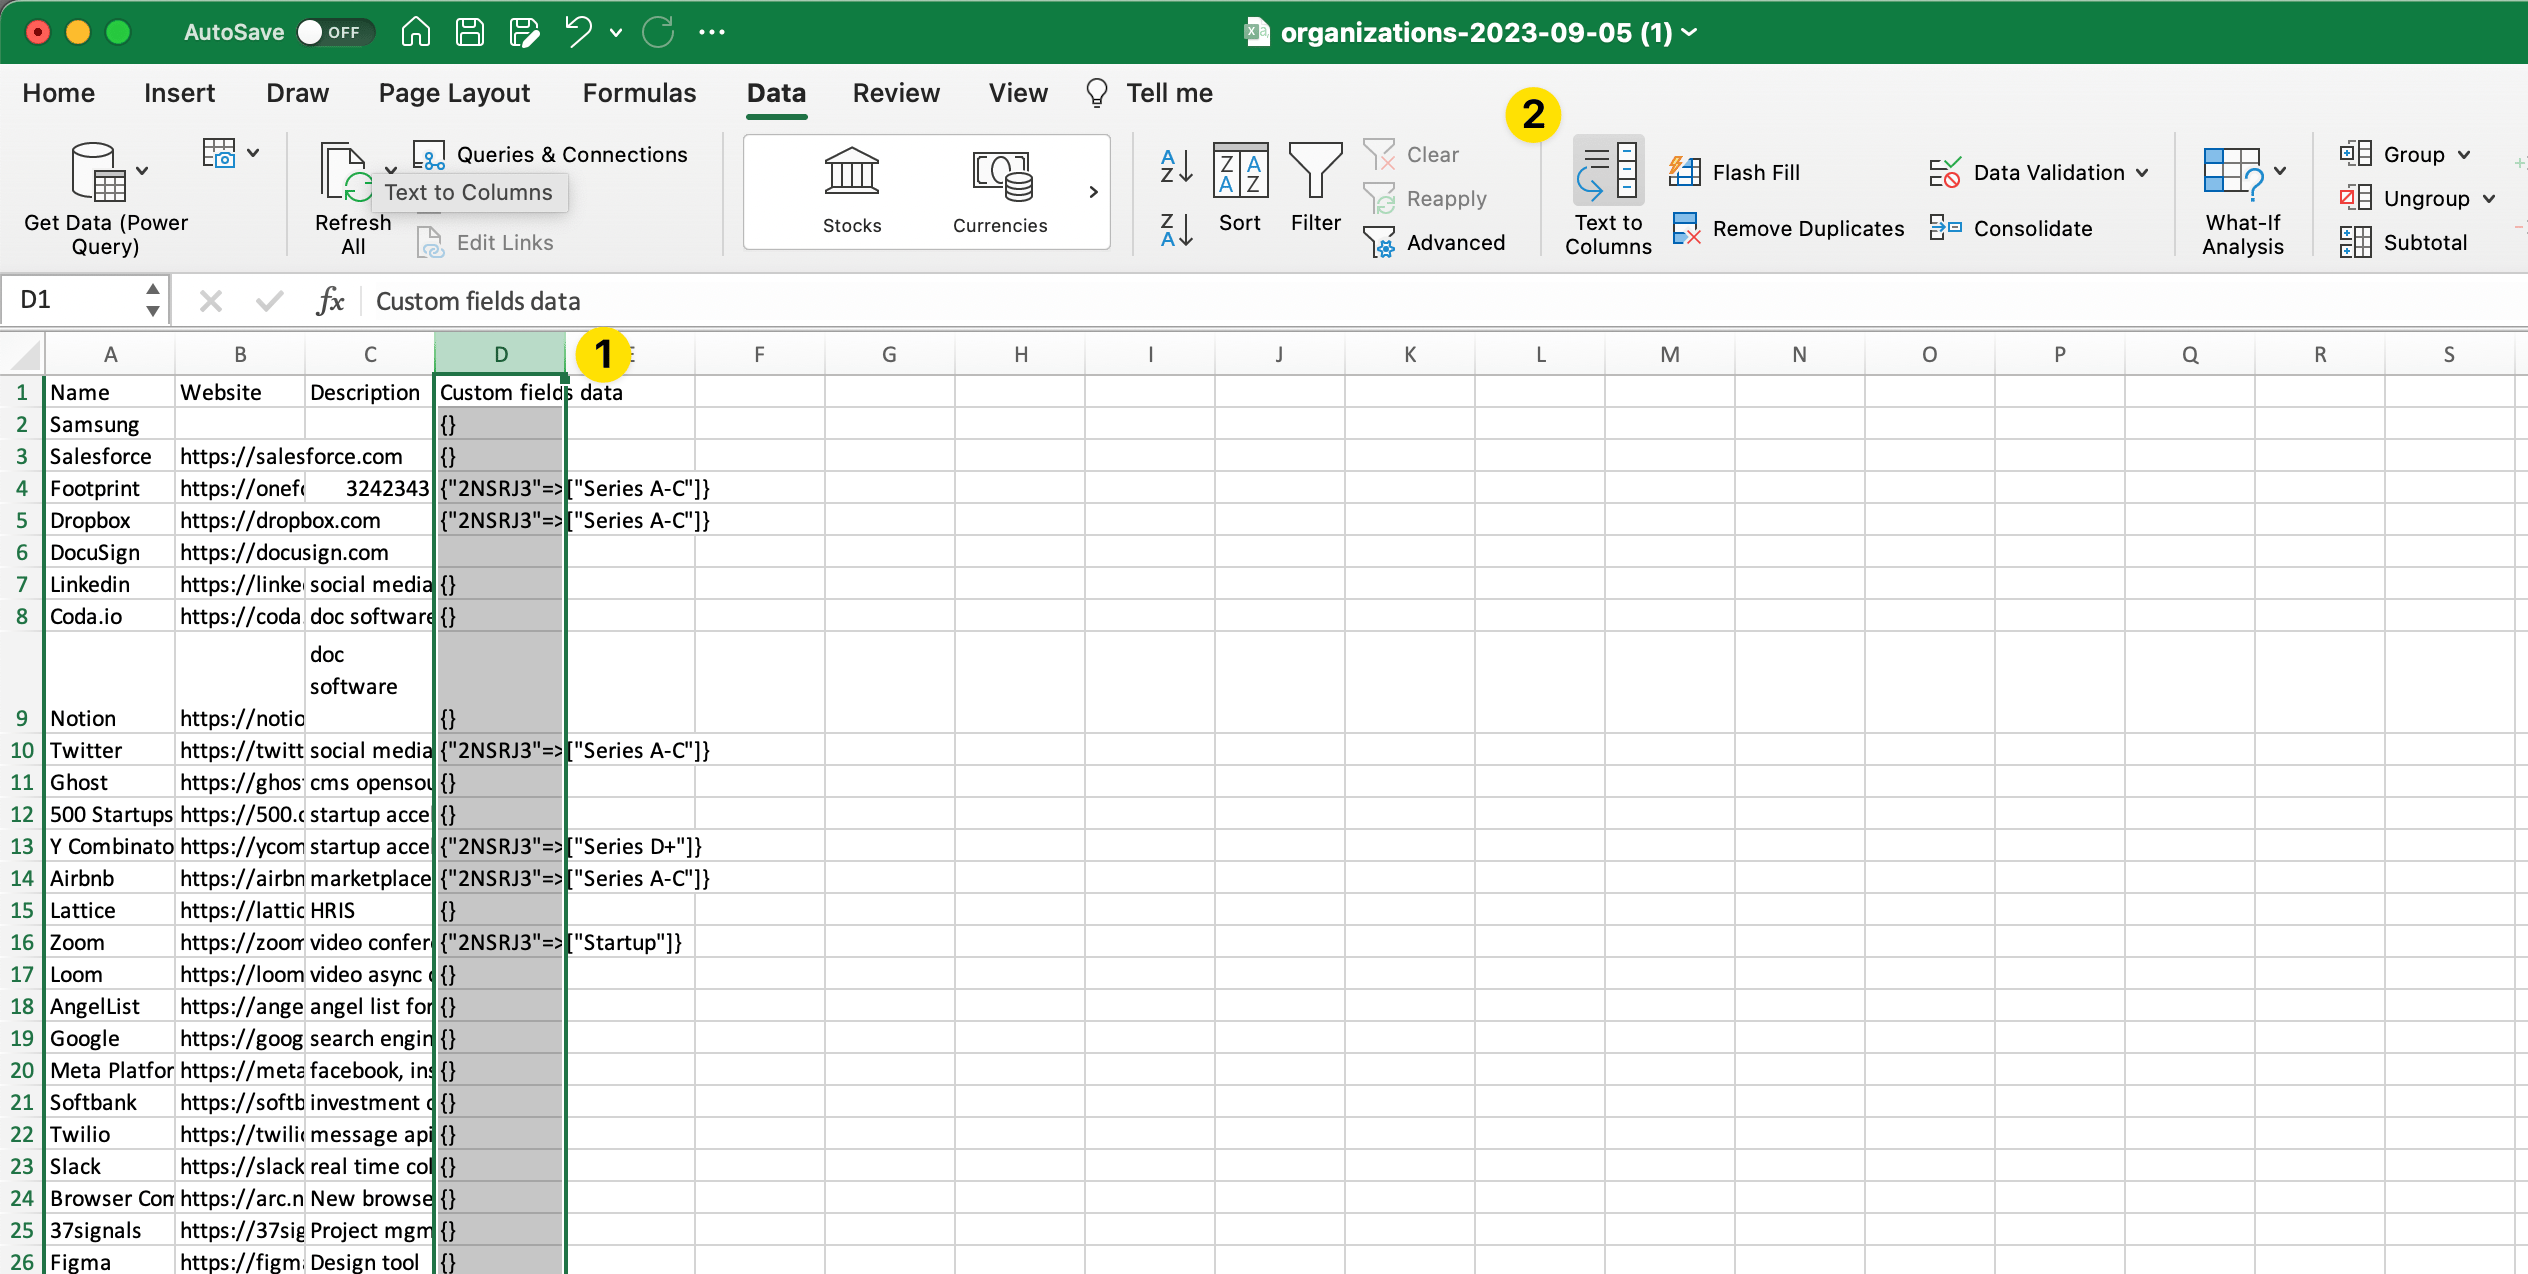
 **2. Click Text/CSV and select the file with broken characters**
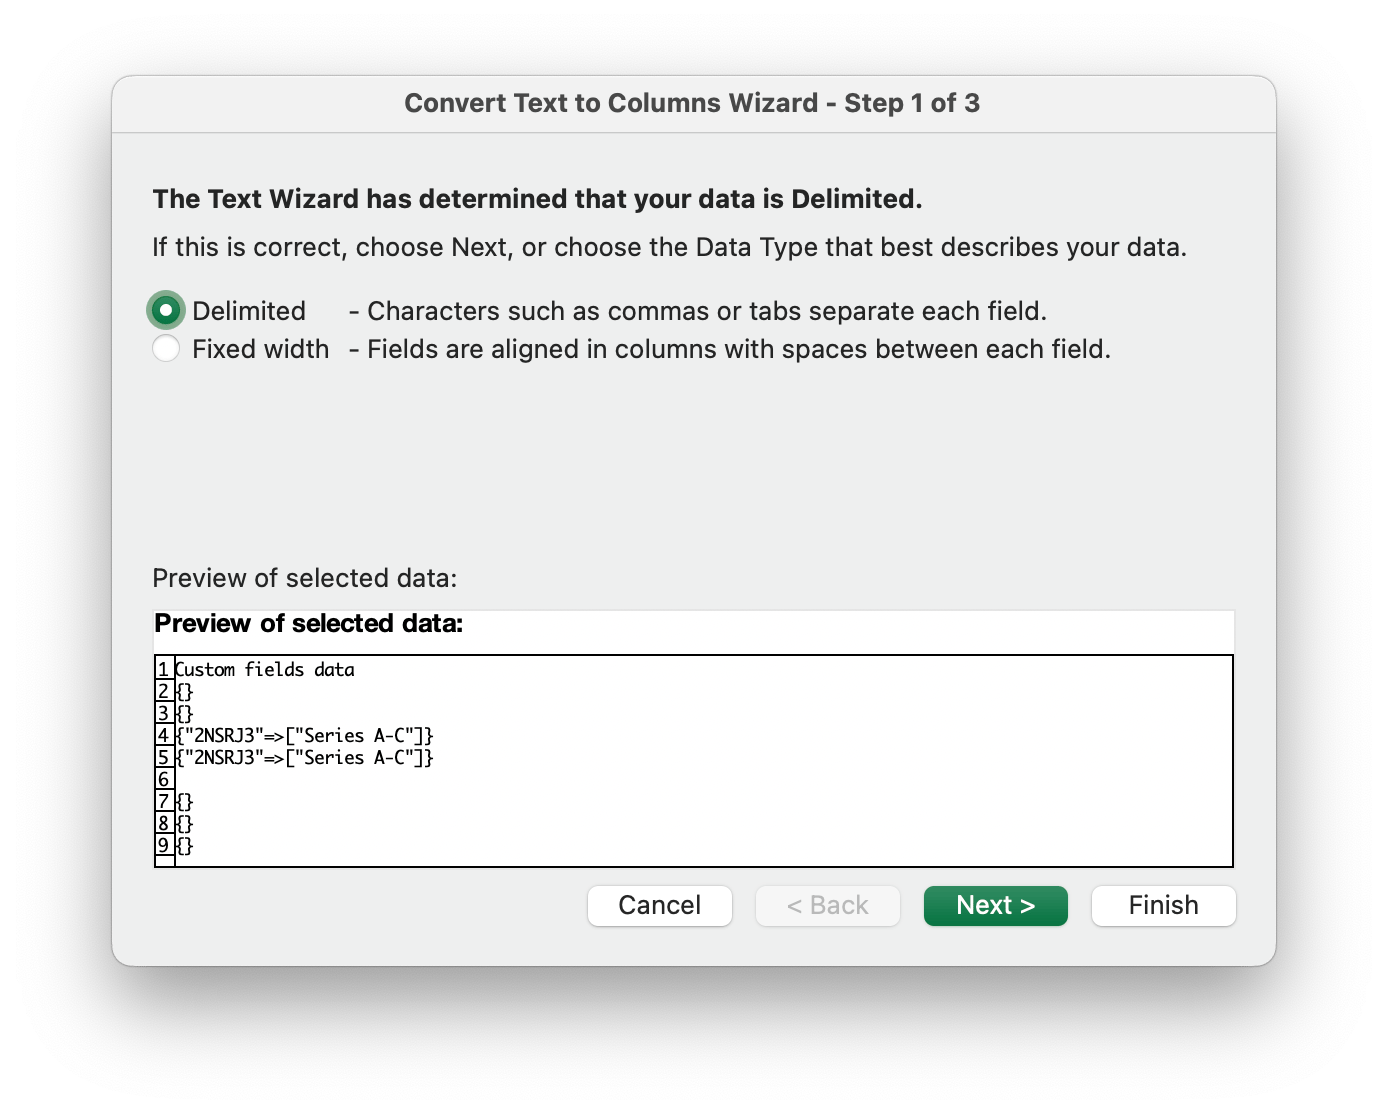
 **3. Select UTF-8 and click Load**
 There are two main reasons import failures occur.
1. **Duplicate unique fields**\
In Relate, organization name, contact email, and domain must be unique.\
For example, if two different organizations, Relate (@example.so) and Pixelic (@example.so), share the same domain, the import fails due to duplication.
Note that domains can be automatically generated from email addresses, even if not explicitly provided.
2. **Invalid email addresses**\
This includes email addresses with invalid formats or special characters other than `@` (for example, test@ or abc.com).
Failed rows can be reviewed in the Failed Records section, and re-imported after fixing errors.
With the previous import method, users had to manually create custom fields and map columns before importing.
With the current import process, Relate AI automatically understands and maps column data, so no prior field setup is required.
If organization or company information exists in the import file, Organizations are automatically created and linked to Contacts.
There are two main reasons import failures occur.
1. **Duplicate unique fields**\
In Relate, organization name, contact email, and domain must be unique.\
For example, if two different organizations, Relate (@example.so) and Pixelic (@example.so), share the same domain, the import fails due to duplication.
Note that domains can be automatically generated from email addresses, even if not explicitly provided.
2. **Invalid email addresses**\
This includes email addresses with invalid formats or special characters other than `@` (for example, test@ or abc.com).
Failed rows can be reviewed in the Failed Records section, and re-imported after fixing errors.
With the previous import method, users had to manually create custom fields and map columns before importing.
With the current import process, Relate AI automatically understands and maps column data, so no prior field setup is required.
If organization or company information exists in the import file, Organizations are automatically created and linked to Contacts.